Tutorial
Carving the Design
Before we can start carving, we need to first prepare the leather. Because leather has a tendency to change its size and shape in the carving process, I typically cut the leather a little oversize and trim it later. I will also rubber cement the leather to a piece of x-ray film to prevent it from stretching out of shape. There are other materials you could cement the leather to, but I find x-ray film to be the most efficient. Apply rubber cement to the film, let it dry, and then affix the leather to it. You can clean up the extra rubber cement with a rubber cement eraser, or "gumbo" eraser. Once the leather is affixed, it is "cased" with water. Water will soften the fibers within the leather and make it easier to cut and mark with impressions. Wet the leather with a sponge and set it aside. When you first wet it, the leather will turn a bit darker. The right side of the figure below is wet and the left side is dry. As the leather dries, the color will eventually return to its original color. When it is nearly the original color, it is ready to be carved.

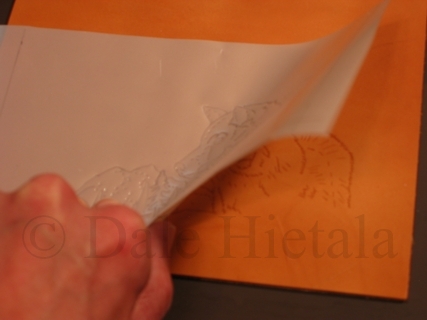
A transfer pattern is drawn while the leather is drying. "Transfer film" is a plastic film, typically thicker than plastic food wrap, but thinner than an overhead transparency. This film can be marked with either pencil or pen. There are other materials that can be used to transfer patterns. Experimentation will help you determine what works best for you. Trace the pattern that you previously created onto this film. I usually also mark at least part of the outside dimension of the final cover, as well, so I can trim to my final size later. As the leather approaches its original color, lay the tracing film over it and trace the pattern again. When you're finished, an impression of the pattern will show on the leather (pictured below).
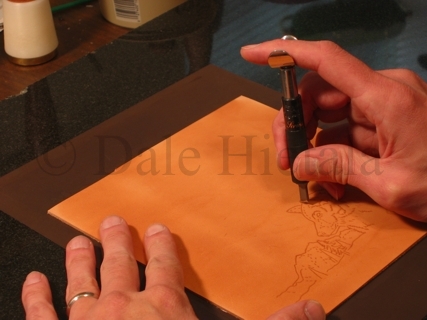
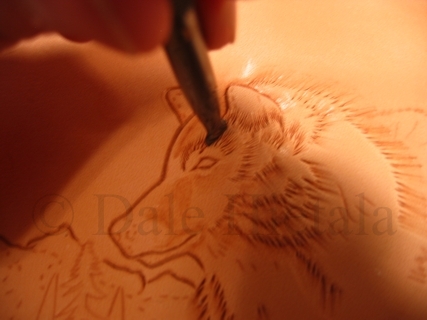
Now that the pattern has been transferred to the leather, it's ready to be carved. For the most part, the outline is cut with a swivel knife. The swivel knife is a special tool specifically for cutting lines in leather. Its configuration allows the user to cut part way through the leather without going through it, and also enables a great degree of control in cutting smooth and tight-turning curves.
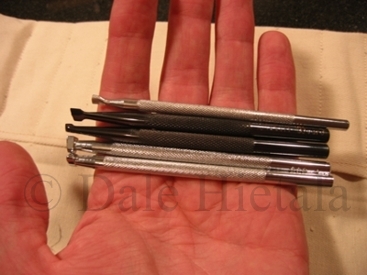
Without a doubt, the most common question I am asked is, "So you have a big stamp with that picture on it?" If you've gotten this far in the tutorial, you're probably starting to realize that isn't the case. Yes, I have many stamps, but they're not that big and each one certainly won't make a picture by itself. The pictures below show a number of different stamps. They are generally the size of a writing pen or a pencil. Each has a different shaped head that's used to create a unique impression in the leather. The impression is made in the leather by striking the stamp with a mallet (bottom photo). By using the stamps in different ways, a particular pattern can be created that makes the design look like hair, or branches, or wood, or mountains, or .... (I hope you get the idea).

"Modeling tools" of various designs are also used to create impressions in the leather. For the most part, I use modeling tools for smooth impressions where I don't require much depth as well as smoothing edges and rough tooling in the design.

After all the tooling is done, the piece is left to dry.