Tutorial
Assembling the Cover
There really is not a lot involved in "assembling" or "construction of" a checkbook cover. Assembly is primarily about cutting the back, lining and pockets and cementing everything together. As I mentioned earlier, I usually cut the carving leather oversize to compensate for any stretch or shrinkage that may occur in the carving process. To get it to its intended size, I start by laying the transfer pattern over the carving and marking the outside borders of the cover. Using a checkbook cover template, I then outline edge of the cover. (What I refer to as a "checkbook cover template" is a durable material cut out in the size and shape of the checkbook cover. I usually use x-ray film for this purpose. Other materials can also be used, like floor tile, cardboard, wood, or plexiglass or other plastic. To help the viewer see what's going on in the photographs below, I used a clear plastic film similar to an overhead transparency. On some monitors, you may not be able to see the template in the photograph without adjusting the contrast and/or brightness.)
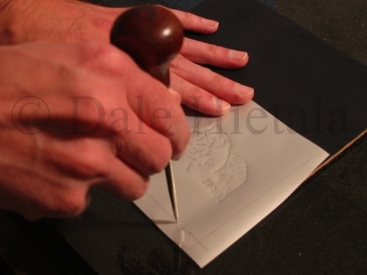
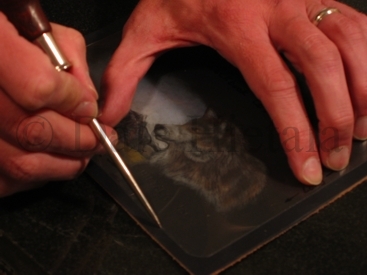
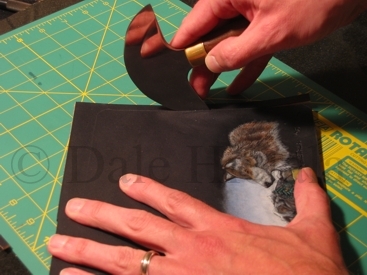
Now the carving is aligned in the proper location on the final cover and it can be cut out. I often cut long, straight lines using a straight-edge. In the example below, I simply used a head knife. Once the cover is cut out, I thin down the center section where the cover will fold. This helps to prevent wrinkles in the lining leather and forces the fold to align in the center of the cover.

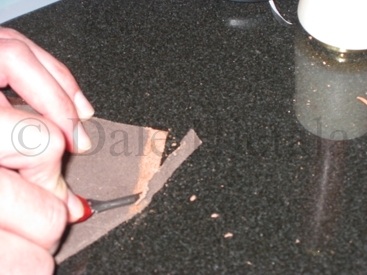
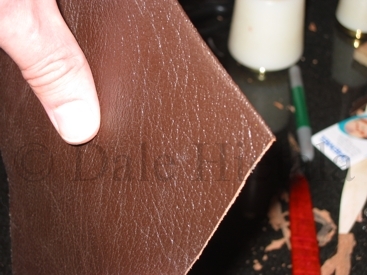
There are many leathers that can be used as lining material. I will either use leather made specifically as a lining leather or a very thin tooling leather. I skive the top edge of the pocket very thin and fold the edge over to make a finished edge at the top of the pocket. The second photo below shows the difference between a finished edge and a raw edge. (The photos below are not actually part of the checkbook cover, but were photographed separately to show the process.)
Both pockets and the main lining are cut a bit oversize. This way I can cement them in place and cut to size around the cover's back, ensuring a perfect fit. After being cemented in place, the checkbook cover is ready for stitching.