Tutorial
Stitching the Cover
The second most common question that is asked is whether I need a special sewing machine to sew leather. If it weren't for the fact that I don't actually use a machine, the answer would be "yes." There are still some people that do this by hand. There are also more that can, but choose not to. Incidentally, many people refer to this step as "sewing," rather than "stitching" - probably as a reference to the machined look. Some people prefer to have their pocket items laced rather than stitched. Lacing looks more like braiding on the edge of the item. While I don't dislike the look of lacing, I prefer stitching as a better look. I also prefer its strength and lack of bulk.
The initial step in stitching is to create a channel for the thread to lay in. I actually don't do this very often, anymore, but it is a common practice. The reason this channel is created with a stitching groover so the thread lays below the surface of the leather, protecting it from wear. For this particular checkbook cover, since I dyed the surface black, I needed to go back and apply dye to the channel in order to color those spots where the dye didn't sink deep enough to reach the depth of the channel. After the channel is created, stitch spacing marks are created with an overstitch wheel (there are other tools that can be used, but this one is very common).
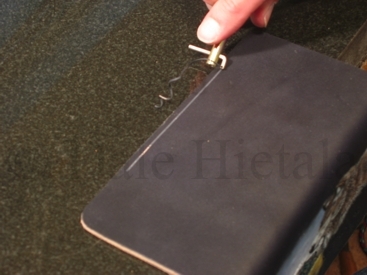
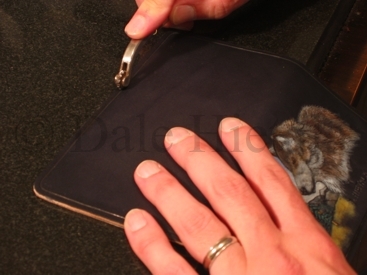
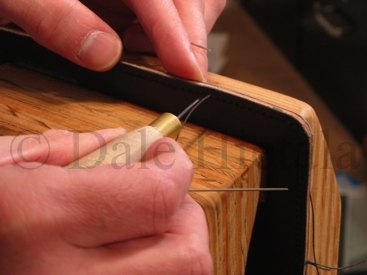
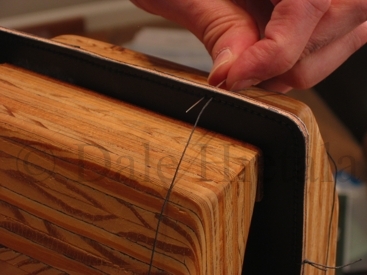
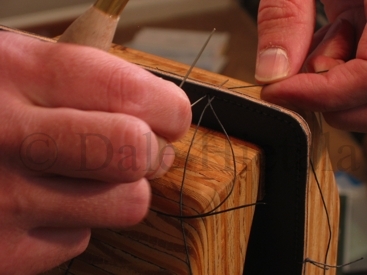
The cover is then placed in a pair of stitching jaws to hold it while the two hands are used to handle the awl and needles. A fixed length of thread is waxed (to reduce wear and hold stitches tight) and a blunt needle is attached to each end of the thread. I usually work with 6-12 feet at a time. To begin, the awl is used to punch a hole in the leather at one of the stitching points, and one needle is inserted through the hole. The thread is brought through until 1/2 the thread is on each side of the cover. A hole is made at the next stitching mark and the thread is brought through the hole from each side. First, the needle is brought through from the back side of the leather, then the other needle is brought through from the front side of the leather. Both ends are pulled tight and the stitch is complete. This process is repeated until the entire cover is completed.
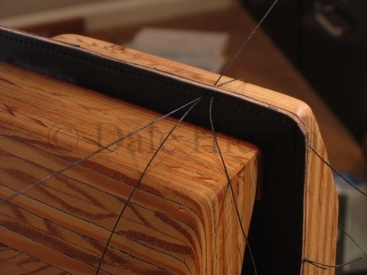
Once the stitching is complete, the edges are rounded, dyed and smoothed and the checkbook cover is completed.